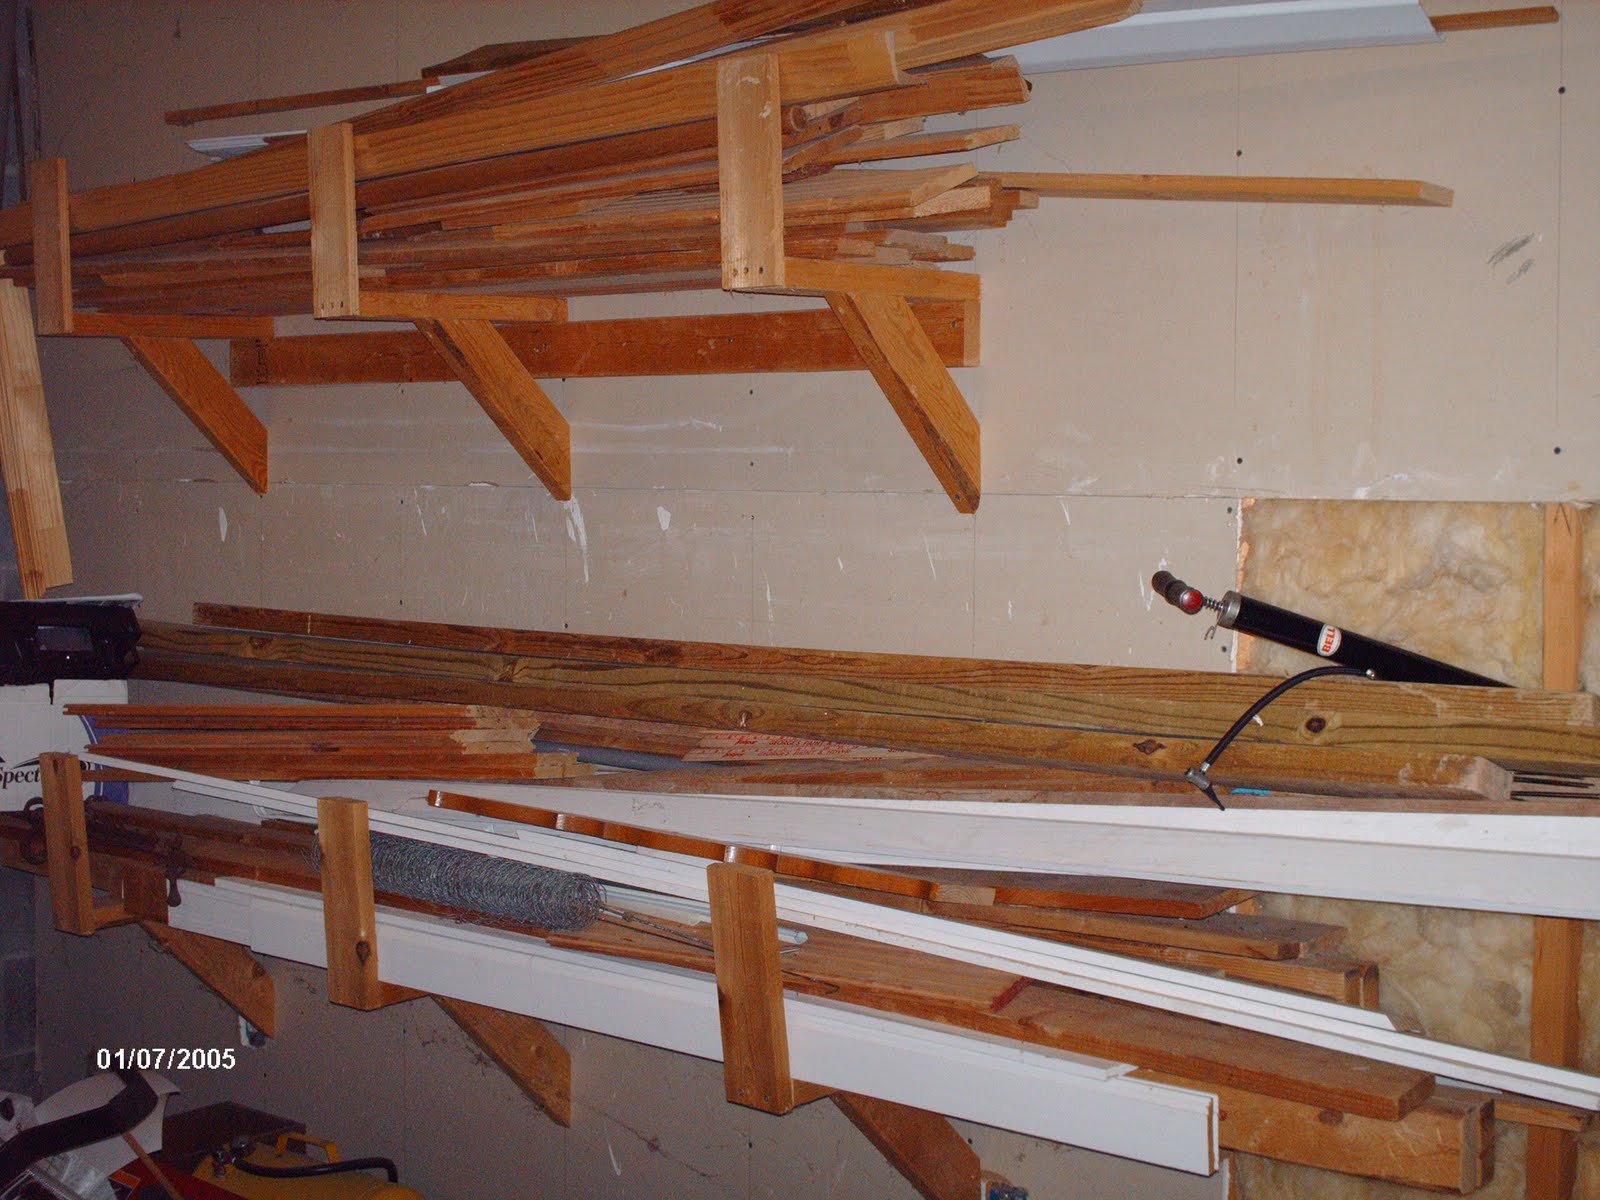
What a mess....wood scraps left by the previous owners!!! I have looked at this for almost 6 years thinking surely I could build something...anything...something I wouldn't be ashamed of. Over the holidays, I came across a picture of a shelf that I thought would look great over our sofa, only it wasn't for sale. The shelf (inspiration) is on page 95 of the January 2011 issue of Country Sampler magazine. Yep...I can do it!!!

I started with left over tongue and groove pine that was used for the ceiling in our living room and foyer. I've cut the pieces for the back of the shelf and have used wood glue to glue them together.

Table saw....kinda scary, but I've used it before. I used this to make all my cuts. I did waste a couple of pieces of wood because I tried to make curves in the sides, like my inspiration piece. Table saws don't make curves!!! What I need is a jig saw. I'll look for one next time I'm at Lowes.

So far so good...no fingers missing and the back and sides are put together.

Added a shelf. Maybe I should have turned the tongue and groove the other way????? Too late now... it has been glued and nailed in.

Lo and behold...an unexpected surprise. The "tongue" part that I had to cut off made excellent trim to finish my shelf.

Sanded all the rough edges with a palm sander (Christmas gift from husband a long time ago.)

Painted with "Cowboy Hat" from Valspar.

After it was painted, I knew it still needed some work. It MUST look old. I sanded until I wore out a whole pack of sanding pads, I dinged it with the hammer, I stabbed it with an ice pick and I hit it with a pair of pliers. After the beating, I painted in sections with watered down black paint and immediately rubbed it off, leaving just enough in the corners, holes and dings to give it that antique look.
An upclose look at the "antiquing" and the trim.
Because it was heavy and hanging over my sofa, I didn't want it falling off the wall and giving anyone a concussion. I found this picture hanging system at Lowe's from Hangman. This is the mounting bracket on the back of my shelf. It interlocks with the wall bracket and can hold up to 200 lbs. Exactly what I needed!!! It even comes with a tiny level so you can't mess up hanging it straight.
This is how the wall bracket looks on the wall.
Although it doesn't quite look like my inspiration piece, I think it turned out great and is exactly what I wanted....something to fill up that space! I pulled out some junk (treasures) that I had in other parts of the house to display. Mmm.....I think I have found a new hobby!!! (as if I need another one).
I'm impressed! You did a fine job and it looks great over you couch. I just bought my husband a new jigsaw for Christmas. Too bad you didn't live near, you could have borrowed it. :-)
ReplyDeleteGood job, Becky! I've got some projects I need to bring up to you to get done !!lol Hope you and your family are doing well.
ReplyDeleteCarol